Know Your Camera, Part I: Shot Lengths & Angles
In any production, whether it is a full length feature film or a small scale personal motion graphics project, it’s always wise to use everything at your disposal to help tell your story and convey your message to the audience, and one of the most often overlooked ways to do that is also one of the most simple: use your camera.
Throughout the history of cinema, clever camerawork has given individual meanings and emotions to certain angles and shot lengths that help push the message of the scene even further. These feelings don’t end just because you aren’t using a physical camera. They can, and should, be created with the virtual cameras included in the software you are using to tell your story. At the very least, it will make your work look more professional and make you look more proficient at the software you use.
In this article, the first of a three part series, I will explain the different shot lengths and angles and how you can use them to spice up your work and make it more exciting. So, without further ado, lets get to know the camera better by first focusing on shot lengths and angles.
Shot Length
When you hear people throwing around the terms “framing a shot” or “shot length” they are talking about the distance the camera is from your subject. There are many different types of shot lengths used, and each is used for a different reason and conveys a different meaning. Traditionally, the closer the camera is to your subject, the more intimate the feeling. It also should go without saying the further away the camera is from your subject the more you can see.
A lot of your work will be stuck in the long shot area, but when it is possible try to vary your shot length. You would be surprised at how little an audience needs to see in order to recognize an object. Also, you would be surprised at how certain objects naturally frame your scene the closer you dolly in on the subject. Don’t be afraid to try out different shot lengths and see how they play out with your project.
Let’s take a closer look at the more common shot lengths and how they can be used to make your work look better.
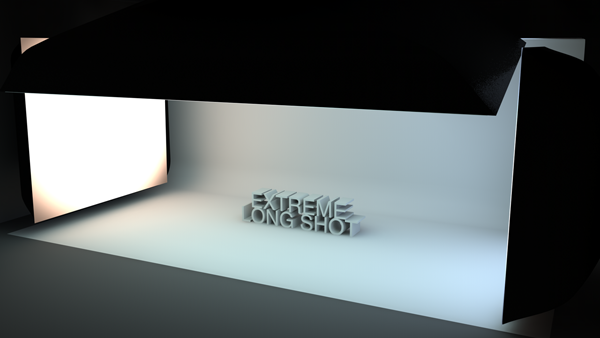 Extreme long shots are used in film and animation to simply set up a shot. For example, if your next scene is to take place in a house, the first shot you’ll see is an exterior shot of that house. This tells the audience where the next scene will be taking place and cause less confusion.
The extreme long shot can be used in reverse as well. If you start off with a series of close-ups on your subject and only give the audience an extreme long shot in the end to reveal where that subject is, you can successfully create a mystery and your audience may feel rewarded as they finally get the answer to the mystery they have been trying to solve this entire time.
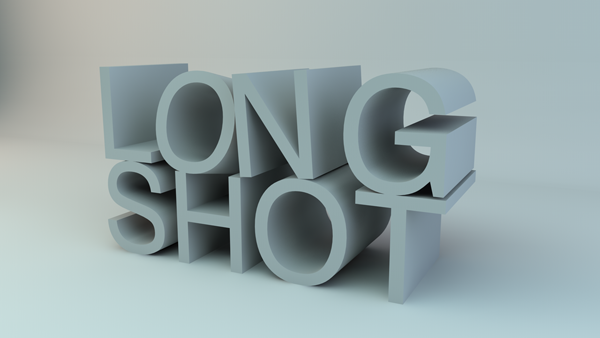
A long shot is used in film and animation to basically show the subject they want the audience to be focused on in a scene. It’s created by filming the subject from top to bottom filling the entire frame.
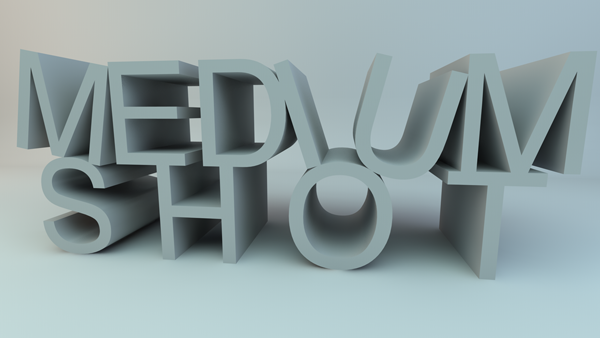 A medium shot is half of a long shot. In film, it would be half of your actor (usually from waist up), but in motion graphics it would just be half of your subject whether that be text or an object.
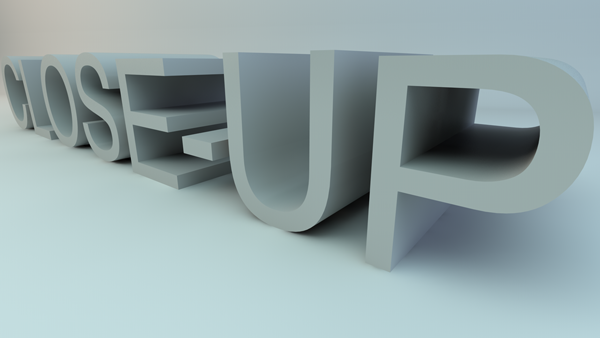 Close-ups are, in film terms, used to show one character up close and personal, usually framing the head. In motion graphics it can be used to frame a smaller part of a bigger object–a tire on a car, for example.
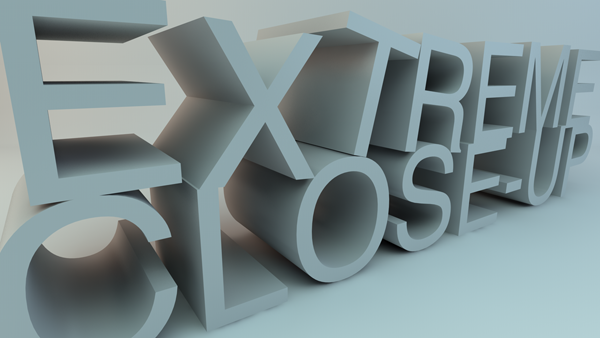 Extreme Close-ups are mainly detail shots. In film they may be a shot of a character’s eye like in the intros to most early episodes of Lost. In motion graphics they are more likely just a shot of individual detail located in your work.
Angles
Angles are, of course, the angle of the camera in relation to your subject. There are many different angles in traditional film that are associated with emotions, and using them in your work can help you solidify a certain feeling without having to drastically change anything about your project. They also make your work look more professional and causes it to stand out from the crowd. Again, don’t be afraid to try out different angles on your project. In fact, rarely should your project ever have the dead-on eye level camera mentioned first below. Spice it up with different angles and see where it takes your project.
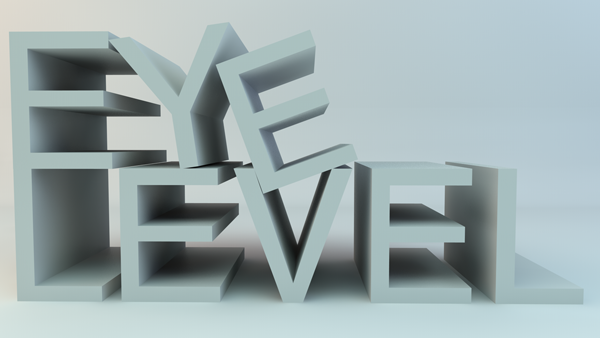 Eye level is a basic shot that is filmed as if it was right where you are standing, from your height. It’s a basic shot.
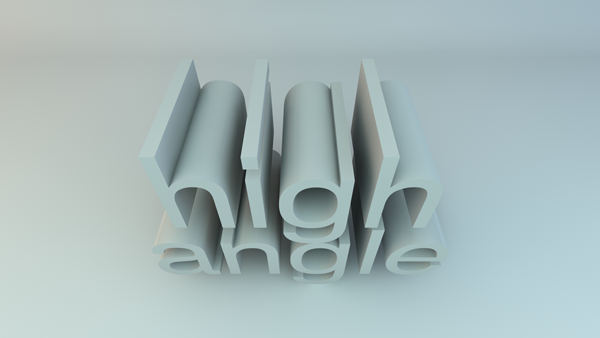 High angle shots give off the emotion that the subject is weak and cowering. You have seen it in film many times when the good guy is beating the bad guy (or vice versa). The one taking the beating is always filmed lower than the one doing the beating, and the camera is always looking down at them.
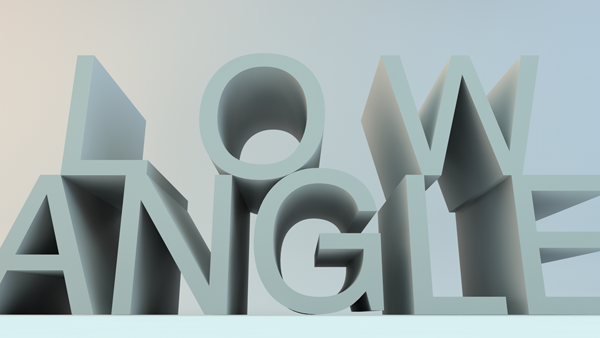 The opposite of the high angle is, obviously, the low angle, and it has the opposite effect as well. The more powerful character at the time will always be filmed at a low angle to give them more of a powerful stance as if they are mightier. It, of course, also makes the letters and objects look bigger so you may see them used in “big sales” ads or something to that effect.
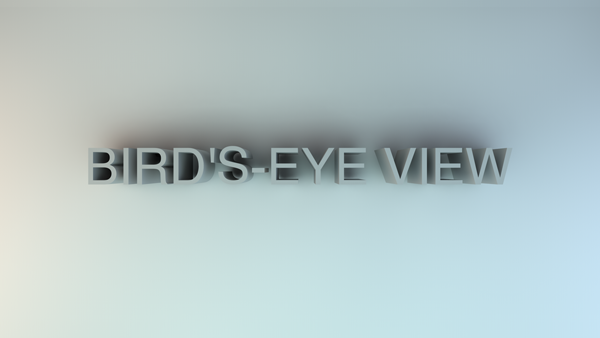 Bird’s-eye views are simply there to allow the scene to be set up much like an extreme long shot. It’s mostly used when the subject is traveling from point A to point B.
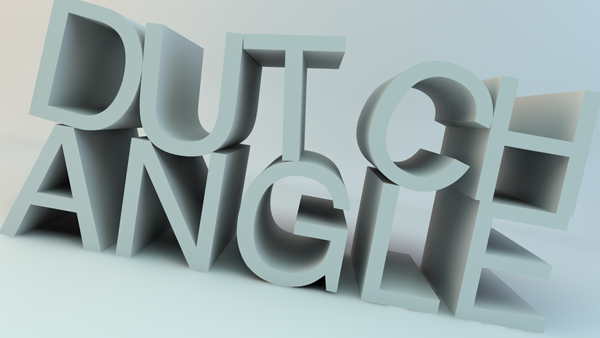 If something is not right you might see the dutch angle. This gives the impression that something is wrong with the subject in the scene.
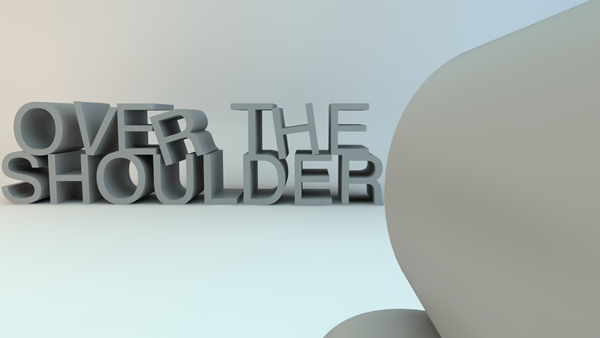 Over the shoulder shots are used mainly in film when two characters are talking to each other, but there’s no reason you couldn’t use this shot to spice up your work in a fashion similar to what I have in the picture above.
End Remarks
There is no definitive guide to what shot lengths or angles you should use in any specific area, especially in motion graphics, but the ones I have listed here have been tried and true in Hollywood for decades and will work for you in your project, even if it’s only on a subconscious level. At the very least you will be giving your work a different look which, in turn, will make your work look more professional and you look like you know your camera.
Please check back for the next part in the series, Know Your Camera, Part II: Movement.

John Kostrzewski is the Editor of Fuel Your Motionography and a freelance motion graphics and visual effects artist, videographer and writer living in Minnesota. He is awesome. Follow him on Twitter at and .


Ah, the good old days of filmschool 101.
That takes me back.
It really does! I was getting a bit of nostalgia when writing the article. It’s always good to remember the basics!
Definitely. You gotta know the basics.
Thanks for the nostalgia!
When a took a look at this article I thought “oh, what a boring way to start a camera tutorial” but it was actually refreshing to remember this basics about 7 years after the first time I learned them ha ha.. there’s so many new stuff, software, plugins, around that is easy to forget about the essential.
Thanks for the comment, Teresa!
I completely agree. There are always new plug-ins, software, updates, hardware, etc. that are released every day, and most of them are amazing when used properly. What I wanted to express in this series of articles was the fact that a lot of users, especially the newer users, forget the basics or jump towards getting the newest “toy” in hopes it will make them a better motionographer not knowing a solid backing in the basics can elevate their work so much and for free.
New toys are always great, and sometimes essential, but nothing will ever replace a solid understanding of the basics.
Thanks again!